Blog

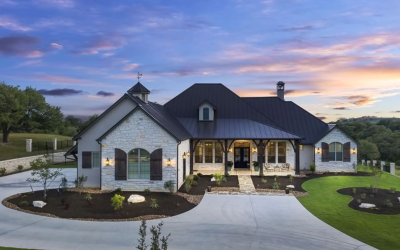
Step-by-Step Guide to Custom Home Builders in Granite Shoals
Building a home in Granite Shoals is exciting, but it also comes with the unique challenges of the Texas Hill Country. Whether the lot sits near...

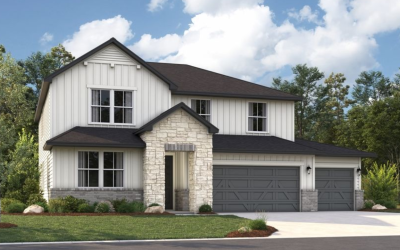
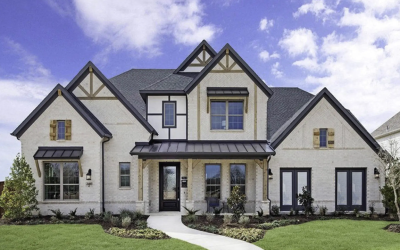
Texas Home Builders: 2025 Trends for New Custom Homes
When families begin exploring the idea of building a home in the Texas Hill Country, the first thing they’re usually curious about is how modern...

Must-Have Kitchen Gadgets for the Modern Home
These days, the kitchen is no longer just a place to prepare food; it is a combination of aesthetics and a sense of style. The latest gadgets can...
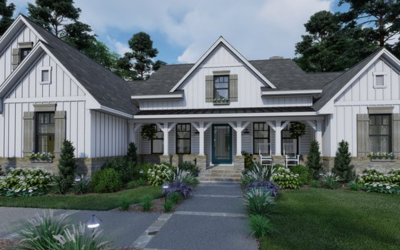
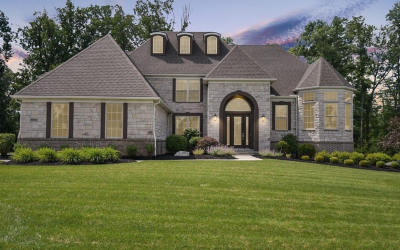
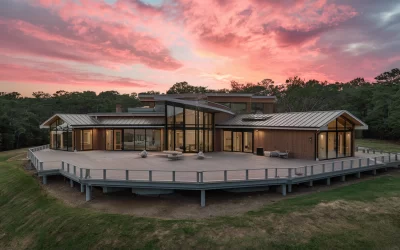
What Is the Most Common House Style in Texas?
The state of Texas is diverse in many ways when it comes to cultural influences and architectural styles. With such vast open spaces and varying...

7 Commonly Used Materials in Home Construction
“Home is where the heart is’.’ Certain elements need to be utilized to make the building stand erect. It is generally accepted that the selection of...
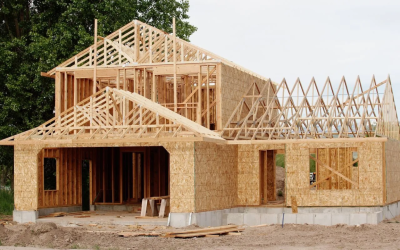
Materials Needed to Build a House
Building a house is one of the biggest achievements in one’s life thus selecting the appropriate materials is extremely important for the stability,...
How Much Does It Cost to Build a Small House in Marble Falls?
One of the first things to consider when thinking about building a small house in Marble Falls, Texas, is the cost. What would it cost to have that...
What Factors Impact Your Custom House Design?
Building a custom home is the desire of many homeowners due to the possibility of creating a home that meets their specific requirements. However,...

What is the Most Cost-Effective Way to Build a Custom Home?
Building or designing your own home is the desire of most people; however, it can turn out to be a costly affair if the proper strategy is not...

Custom vs. Semi-Custom vs. Spec Homes: A Quick Guide
One of the most thrilling and daunting feelings for any homeowner is to build a new home. There are a lot of decisions that come with designing and...
Award-Winning Custom Home Builder in Kingsland | Showcase
There is no better feeling than building your own home. When you are looking for a reputable custom home builder in Kingsland, look no further than...
What Should You Look For When Seeking the Top Home Builders in Texas?
Buying or building a home is probably one of the biggest investments everyone will make in their lifetime. For new homes, choosing the right home...
Top Home Builders in Texas: What You Need to Know
Working with the right builder is crucial when it comes to building your ideal home. In Texas, where there are different architectural designs and...

Why Hire a Home Builder in Kingsland? Top 7 Reasons
Homebuilding is one of the dreams that many people hold in their lifetime, but it is among the challenging projects to undertake since it entails a...

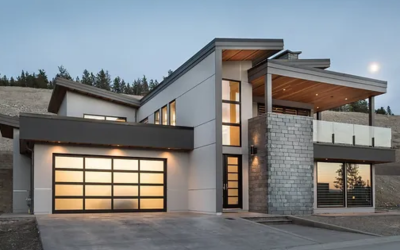
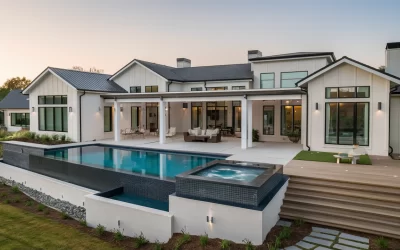
5 Elements of a Modern Luxury Home
Building the perfect modern luxury home involves more than creating an exterior that sparks envy in the neighborhood, it is also about practically...

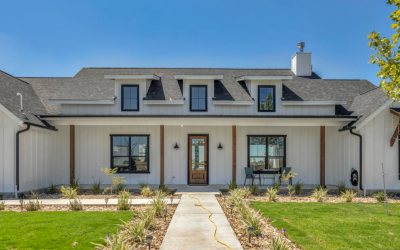
The Interesting Facts About Custom Home Builders in Horseshoe Bay
Located in the beautiful Texas Hill Country, Horseshoe Bay is a dream location for new home builders. From beautiful Lake LBJ and rolling hills...

Comprehensive Guide to Custom Home Maintenance Tips in Marble Falls
In a place as lovely and special as Marble Falls, caring for a custom home is not an easy feat due to the particular climatic conditions of its...
How Much Does It Cost to Build a Custom Home in Burnet, TX?
If someone asks us about Custom Home Building, it will definitely be explained as building your imagination into a house. But what I think remains...

10 Questions To Ask Before Hiring a Local Home Builder
If planning to build a home, the right builder is very vital to see their home come real. Given this many choices, asking the right questions is the...

How to Find a Reliable Builder for Your New Home?
It can be very difficult to select a home builder when constructing a new home since many companies offer the services locally. Whether you are...

Building a Custom Home: The Advantages and How to Choose the Right Builder
Building a custom home offers numerous advantages over purchasing an existing property. Every aspect, right from personalization to quality...
Why Opt for a Local Builder Over a National Firm?
Building your own home is one of the most important investments people make in their entire lives… It is a thrilling and exciting process, yet, it...

What Are the Steps in Order When Building a House?
Building a house is a complex and multifaceted project that requires careful planning, coordination, and execution. Understanding the steps in order...

Why Choose a Local Home Builder? Key Benefits and Tips.
Building a new home is an exciting journey, and choosing the right home builder is crucial for ensuring that your custom home becomes a reality....
How Much Time Does It Take to Build a Custom Home? Understanding the Process
Building a custom home is a dream for many, but how long does it take to turn that dream into reality? Let’s dive into the details and get a clearer...

“Understanding the Risks and Consequences of Using Crack Filmora 9.4.1.4”
Download Filmora 9.4.1.4 is a popular video editing software that offers a wide range of features for both beginners and professionals. However,...